Wednesday, 15 August 2018
Recipe File : Lucy's Potato Bebinca dressed for Independence Day!
Today we celebrate 72 years of our nation's Independence from the British Raj. It's a day to reflect on a hard fought freedom, our rise as a nation and where we stand today.
The age old issues still hold us back. The deep rooted Corruption, the VIP culture, the maddening Bureaucracy, the unemployment and the Poverty. The recent times have also shown heinous atrocities committed against children and women, the depravity of it bone chilling. There have been public lynchings of "beef eaters" and other hate crimes against religious minorities. The Government in power has left a lot to be desired while the Opposition fails us time and again.
It's hard times in India..but the spirit of the common Indian will not be broken easily.
Because today we will still celebrate our beloved country with pride and hope. We will be standing tall and singing " Jana Gana Mana" with ramrod backs while across the country, in schools, offices and institutions the Tiranga ( the Indian tricolor flag of Saffron, White and Green) will unfurl proudly.
Happy Independence Day..Jai Hind!
Today on this happy occasion I'm sharing with you my mom Lucy's very special sweet recipe, a Potato Bebinca.
Potato bebinca may seem like a poor cousin of the Queen of Goan desserts , the Traditional Layered Bebinca but believe me, it lesser effort for an equally delicious morsel of goodness!
The only variation I've made to mom's original authentic recipe is a bit of a cheat really...I've switched from using freshly squeezed coconut milk to packaged coconut milk! Saves a ton of time without compromising the taste too much.
To add a touch of festivity I've marbled it in our National Flag's colours!
LUCY'S POTATO BEBINCA
Ingredients:
1 kg Potatoes
750 gms Caster Sugar
1/2 cup Pure Ghee ( or 100 gms melted butter)
6 egg yolks
1 cup of freshly squeezed thick Coconut Milk( or 200 gms of packaged Coconut Milk)
1 tbspn of Ground Nutmeg
100 gms of All Purpose Flour ( aka Maida)
Colours to tint
Method:
Preheat the oven at 180 C.
Wash the Potatoes thoroughly and boil til soft. Drain the potatoes once a knife pierced through goes smoothly in.
Peel the boiled potatoes. Grate them into a bowl and mash till smooth and creamy.
Measure the sugar into a large deep bowl. Add the pure ghee( or butter). Carefully, separate eggs and add the yolks to the mixture.
Beat till sugar stars dissolving with a handheld blender.
Gently add in the Coconut Milk.
Scoop mashed potato in small portions into the egg mixture and beat till blended in.
Add the ground nutmeg.
Keep adding increments of the mashed potato till it's all incorporated. The mixture will be fluffy with small lumps.
Measure out 100 gms of AP flour and gently whisk it in. Used a spatula to thoroughly fold in batter and mix well.
Separate the batter into three with the plain batter being a higher percentage. Add in the colours to the other two and stir well.
I used a new range of entirely natural food colour ( trying it out for the cakery) and they gave a nice vibrant colour. My mom in her original recipe would make a rich caramel of 1/4 cup sugar and a little water. This she would add to the batter once it was no longer hot. It gives a deep golden brown tint to the bebinca and adds a nutty hint to the taste.
Grease a 9" square tin with ghee or butter. Pour the plain batter in gently.
Scoop in the coloured batter in patchy shapes alternating the green and orange.
Use the back of a spoon to stir gently through the mix to swirl the colours into a pretty pattern.
Pop the tin into the oven and let it bake for 35 mins on 150 C.
The bebinca is done when it's firm to touch but still has a jiggle when the pan is given a gentle shake. Almost like a baked Cheesecake.
Let cool to room temperature, slice and serve with tea or as a rich dessert.
Enjoy!
Vande Mataram!
Thursday, 2 August 2018
Spice Up your Spice Rack with this Easy, Inexpensive and Quick DIY! Freebies included!
If you're a busy mom or home cook who wants to maximise the time you have to spend in the kitchen to prepare meals for your family, then organisation is key. A neat, tidy and orderly kitchen will ensure that you'll never be floundering looking for misplaced things.
As, my mum used to say "A place for everything and everything in it's place!"
For a while the small shelf meant for spices under my kitchen cabinets was one big mess! Packets and boxes of spices just stashed away in larger plastic containers that made accessing them a pain and they looked a right eyesore too.
So, I spent an afternoon making a bunch of labels, getting them printed on sticker paper at my local stationery and printing store and set about neatly labelling and arranging my spices. It's a world of difference, I promise you!
See? Now the husband can help himself without having to double check with me as well! Win-Win I say!
The best part is that it's a really easy project that won't take much time, effort or money. Also I'm sharing, yes SHARING the labels I made and used here with you mogall Ixtt*! YAY! You'll find the link to download the same at the end of the post.
Once downloaded , take them to your local printer and have them printed out on a sheet of Sticker Paper . I had mine printed at Classic Printers in Panjim. The sheet cost me Rs.30/-. You have to give the printer the size you'd prefer ( depending on your Jar sizes). I printed mine in 2"x 2" squares to fit my jars. I had these jars in surplus after ordering them in a big lot for another project ( Apple Chutney Favors/ Giveaways) from Arife LaMoulde in Panjim. They're Rs. 25/- a pc. But you can of course use your pre-existing ones.
So you'll need:
The labels on Sticker Paper
A Paper cutter and Scissors( if you've already got them pre-cut at the Printers then thats great too!
The Jars
Once you've cut the labels to size, peel off the back and carefully stick on the jars. Make sure the jars have been wiped down on the outside with a clean cloth dipped in very diluted vinegar water and air dried. And done!
See how they look up close.
Hope you enjoy making these as much as I enjoyed sharing these with you!
![]() |
| Love it! |
Tuesday, 31 July 2018
A Star and Her Glittery Stripes- A Kate Spade inspired Birthday Party Mood Board
Fun, Colourful, Quirky, Girlie and Quintessentially all things New York "Big City" Chic. Kate Spade leaves a trail of glitter and sparkle that cannot be missed or misidentified!
![]() |
| PARTY MOOD BOARD Images: from various sources on the Internet |
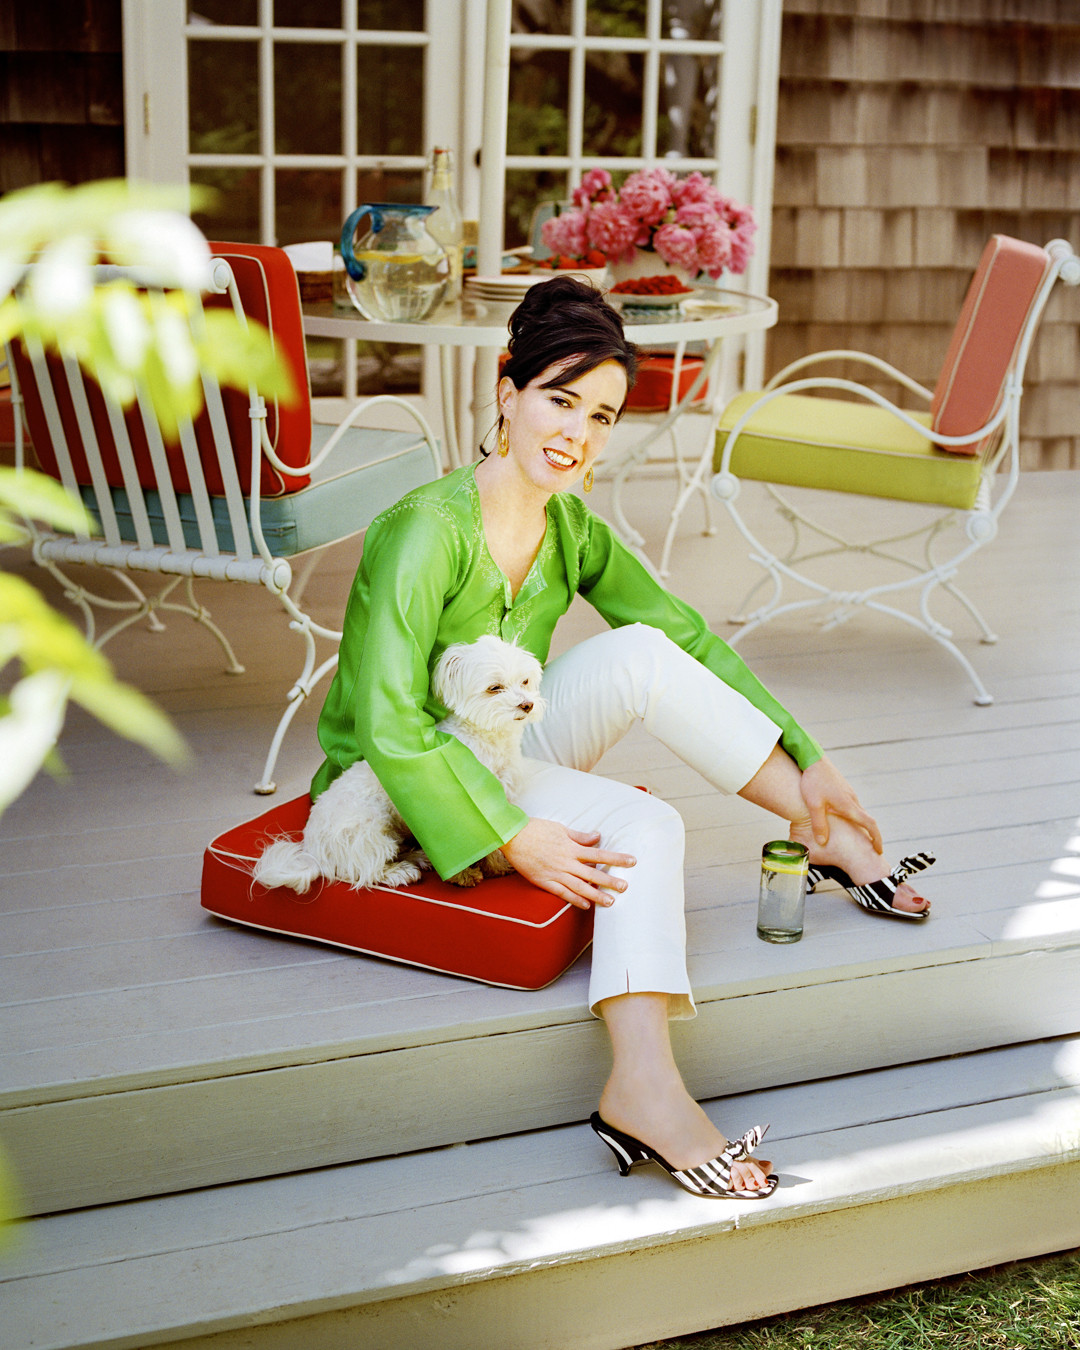
Kate Spade was the creation of talented American fashion designer Katherine Noel Brosnahan and her husband Andy Spade. Katherine who became the face of their brand left her indelible mark in the fashion industry and legions of her fans the world over, from big cities or small towns, were left saddened by her untimely death earlier this year. Unfortunately, she fell victim to depression and anxiety but her joyful, exuberant brand is such a celebration of all things uplifting and beautiful.
![]() |
| THE DESIGNER; George Holz/Contour by Getty Image |
In 1993, Kate Spade who was an accessories editor at Mademoiselle magazine quit her job to design what she felt the market was missing: colorful, affordable, utilitarian-inspired handbags. The rest as they say is history and KATE SPADE the brand has come a long way since. For a girl who loves her accessories, Kate Spade is an answer to all her dreams!
As a Cake Artist, I'm always looking for design inspiration everywhere. A "Kate Spade" Theme Celebration offers numerous delightful ideas to throw a fun party. Perhaps for a young lady, maybe a 21st Birthday Celebration ?
A Soirée with these inspirations conjure images of pink champagne in floral chipped tea cups, gold glitter vases,vintage pearls worn with a lime green and black polka dotted dress and Gossip Girls!
So bring the Kate Spade New York brand of Cosmopolitan, "Breakfast at Tiffany's" kinda vibe to your next party and toast a talented artist with a vision while you wow your guests.
![]() |
| A woman after my own heart! RIP Kate " Katherine Noel Brosnahan" Spade |
Subscribe to:
Posts
(
Atom
)